Files
The file manager is a way to organize file management. It's used when working with various problem settings and for uploading and selecting files.
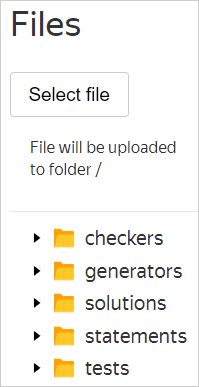
To go to the file manager, select Files in the left section on the problem page.
On the Files page, you can:
- Upload new files and archives to a problem.
- View the list of files added to a problem.
- Delete files and directories (except standard directories).
- Edit text files.
Upload a file or archive
- In the file manager, select the directory (folder) where you want to upload the file. Under the Select file button, a text will appear to explain where the file will be uploaded to. For example,
File will be uploaded to the /tests folder
. - Click Select file.
To select the root directory, click an empty space to the right of the directories. This will change the explanatory text to: File will be uploaded to the / folder
.
If you upload an archive with directories and files, it will be unpacked to the directory you select. For example, if you upload an archive with files 01 and 01.a to the tests directory, you will get tests/01 and tests/01.a in the problem.
If you want to upload an archive to the problem files, archive it twice. For example, you want to have the file main.zip in the problem files. On your computer, archive main.zip into a RAR file and upload it to the root directory.
Delete file or directory
To delete a file or directory, select it from the list and click ![]() next to the name.
next to the name.
Alert
You can't delete directories created by the system by default.
Edit a file
- Select a file from the list. If it can be edited, a
 icon will appear next to the file name.
 - Click .
- Edit the file in the editor.
- Click Save changes.